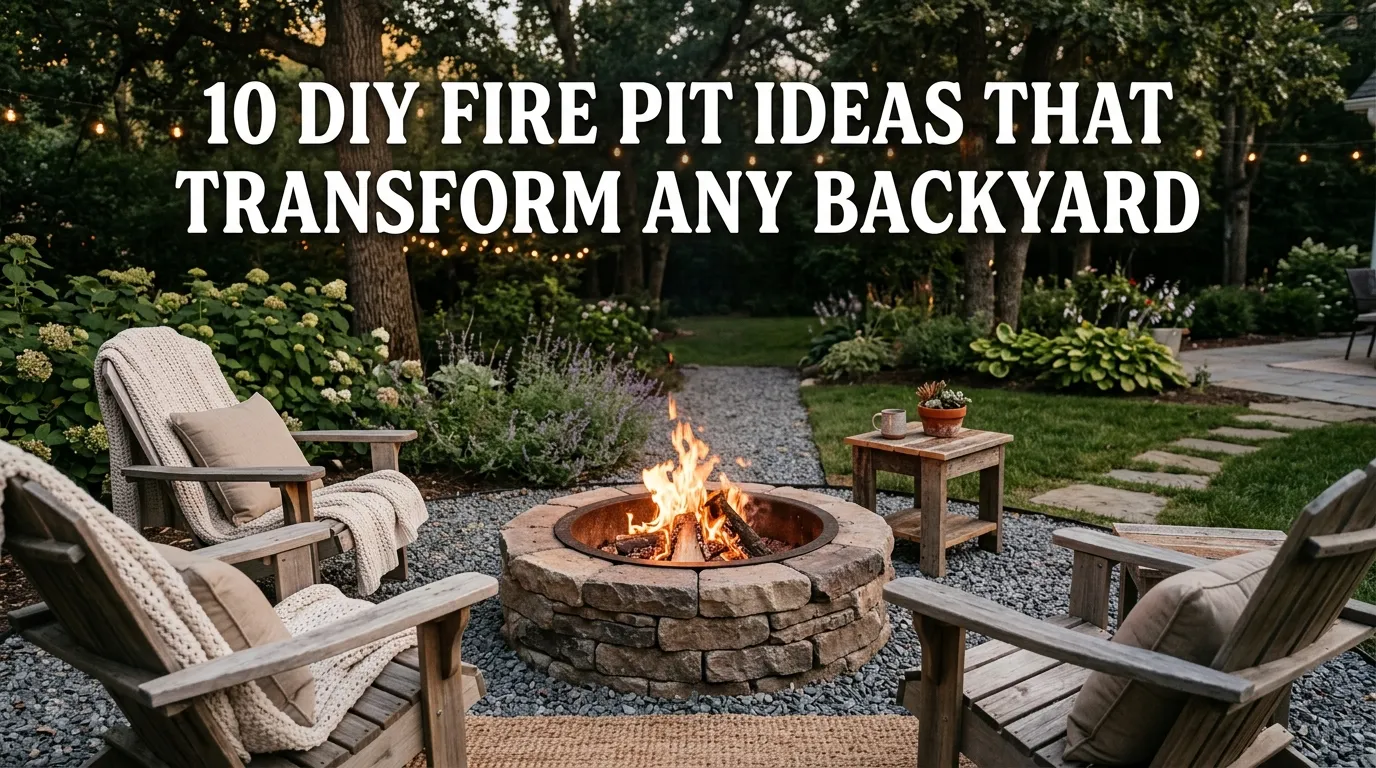
10 DIY Fire Pit Ideas That Transform Any Backyard
Building your own fire pit is one of those weekend projects that delivers a disproportionate amount of payoff for the time and money involved. In my experience, a DIY fire pit tends to get used more than almost any other backyard project, simply because the process of building it yourself makes you that much more likely to actually use it once it’s finished — there’s a real sense of ownership that comes from a fire pit you built with your own hands rather than one that arrived pre-assembled in a box.
If you’re anything like me, you’ve probably looked at elaborate stone fire pit builds on Pinterest and assumed they required professional masonry skills or a weekend-long commitment. The truth is that most DIY fire pits are more forgiving than they look, built from readily available materials using techniques that don’t require any specialized tools beyond what a typical hardware store rents or sells.
A mistake many first-time builders make is skipping the planning steps — checking local codes, calculating materials, and choosing a safe location — and jumping straight into digging or stacking. That’s why many experienced DIYers recommend spending as much time on the planning phase as the actual build, since a fire pit built in the wrong spot or without proper clearance is a problem that’s much harder to fix after the fact than before you start.
I’ve noticed that the DIY fire pits people save most often on Pinterest share a few consistent traits: a clearly defined shape using consistent materials, a proper base layer for drainage and heat protection, and a finished look that feels intentional rather than thrown together. In this guide, I’m walking through ten DIY fire pit ideas that range from a simple weekend gravel-and-ring build to more involved stone and concrete projects. Each idea includes real materials and construction guidance so you know exactly what you’re building toward.
Table of Contents
- Basic Gravel and Steel Ring Pit The simplest, most beginner-friendly build.
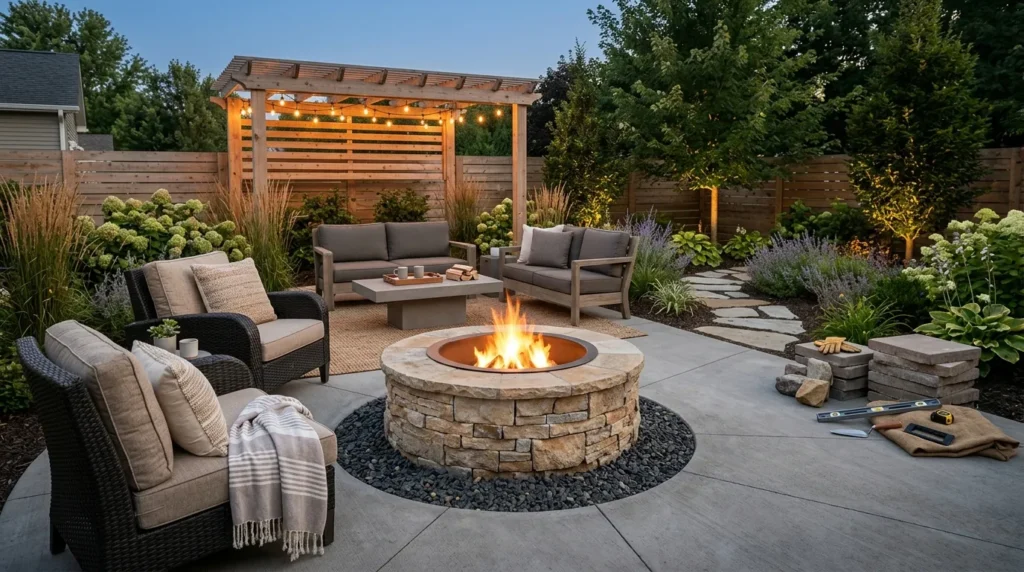
- Stacked Stone Fire Pit A classic dry-stacked build using natural stone.
- Concrete Block Fire Pit A budget-friendly, sturdy weekend project.
- In-Ground Sunken Fire Pit A recessed build for a grounded, natural look.
- Paver Ring Fire Pit A polished build using interlocking pavers.
- Cinder Block Bench Fire Pit A dual-purpose build with built-in seating.
- Brick Circle Fire Pit A timeless build using mortared or dry-laid brick.
- Metal Fire Bowl Insert Pit A build centered on a purchased steel insert.
- Gabion Cage Fire Pit A modern build using stone-filled wire cages.
- Portable Steel Ring Fire Pit A no-dig, fully movable option for renters.
1. Basic Gravel and Steel Ring Pit
Quick Benefits
- Easiest and fastest build on this list
- Minimal tools and materials required
- Budget-friendly for a first-time project
- Works on nearly any flat yard surface
- Simple to expand or upgrade later
Why It Works
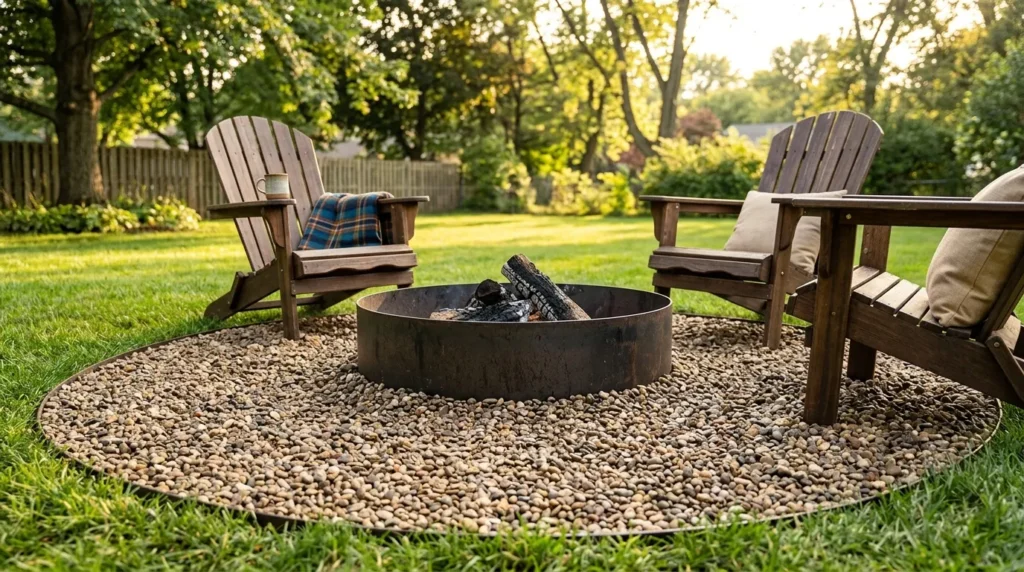
A gravel base paired with a steel fire ring is the most straightforward, beginner-friendly fire pit build available, and it’s a great starting point for anyone who’s never tackled a hardscaping project before. In my experience, this build proves the point that a fire pit doesn’t need to be complicated to look intentional — the gravel provides proper drainage and a stable, heat-safe surface, while the steel ring contains the fire safely and can be purchased inexpensively at most hardware or outdoor stores.
How To Build It
Mark a circle roughly twelve to fourteen feet in diameter for the seating area, and excavate the top few inches of grass and soil within that circle. Fill with a few inches of crushed gravel, tamping it down to create a stable, level base, then center a steel fire ring — typically 36 inches in diameter — in the middle of the gravel circle. This build requires no cutting, mortar, or stacking skills, and it can typically be completed in a single afternoon. One simple trick I always suggest is adding a slightly larger gravel footprint than seems necessary at first, since fire pit gatherings tend to grow past the space initially planned for them.
2. Stacked Stone Fire Pit
Quick Benefits
- Natural, timeless finished look
- No mortar required for a dry-stack build
- Uses widely available natural stone
- Sturdy and long-lasting once assembled
- Blends beautifully into garden settings
Why It Works
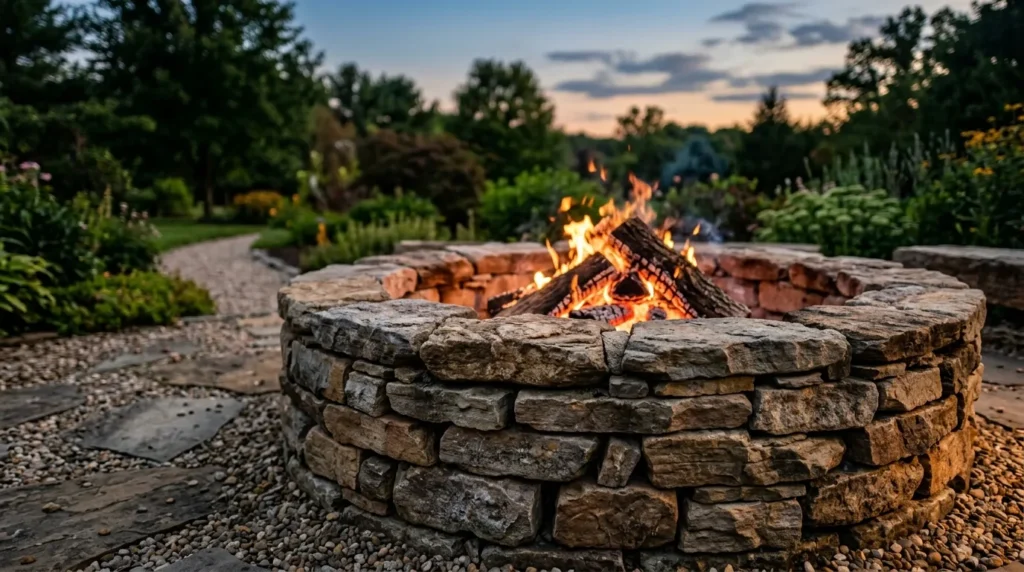
A dry-stacked stone fire pit relies on the weight and shape of the stones themselves to hold the structure together, rather than requiring mortar, which makes it a genuinely approachable weekend project even for someone with no masonry experience. That’s why many experienced DIYers recommend this as the natural next step up from a basic gravel-and-ring build, since it delivers a considerably more polished, natural-material look while still relying on straightforward stacking technique rather than any specialized skill.
How To Build It
Excavate a shallow, level circle roughly four feet in diameter, and lay a base of crushed gravel for drainage. Begin stacking flat fieldstone or retaining wall stone in a circular pattern, staggering the joints between each layer the way you would when laying bricks, so no vertical seam lines up directly with the one below it. Build the wall three to four courses high, using a level periodically to check that the structure stays even, and insert a steel fire ring liner inside the stone circle before the first use to protect the stones from direct, prolonged heat exposure.
3. Concrete Block Fire Pit
Quick Benefits
- Budget-friendly with widely available materials
- Fast to assemble with simple stacking
- Sturdy, heat-resistant structure
- Easy to customize with paint or a stone veneer
- Beginner-friendly weekend project
Why It Works
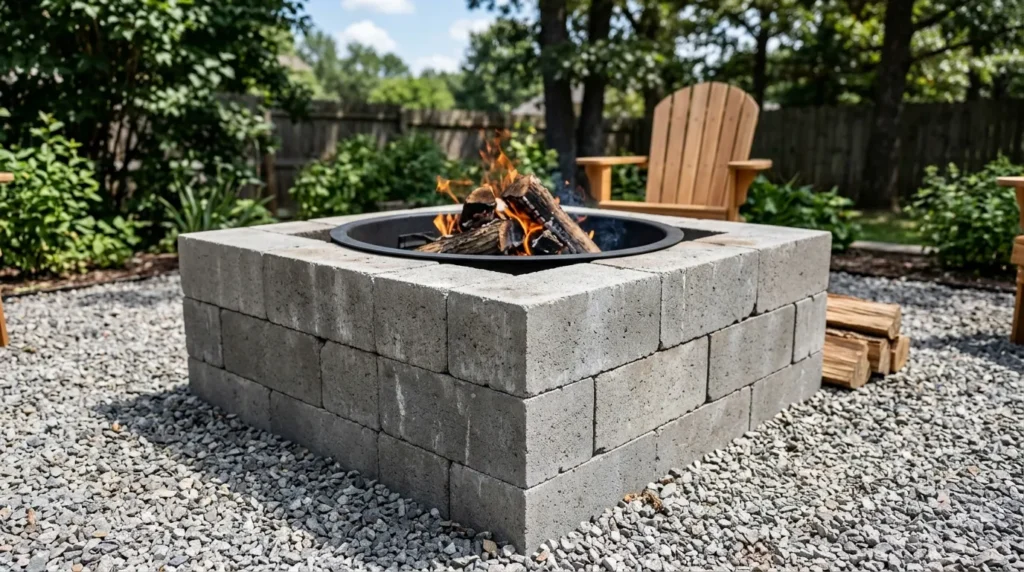
Standard concrete or cinder blocks are inexpensive, widely available at any hardware store, and stack together easily into a sturdy, heat-resistant fire pit structure without requiring any cutting or specialized tools. I’ve seen this build used successfully by first-time DIYers specifically because the blocks are uniform and predictable to work with, unlike natural stone, which varies in size and shape and requires more improvisation while stacking. A concrete block build can also be easily dressed up later with paint, stucco, or a thin stone veneer if the raw block look isn’t quite the final aesthetic you’re going for.
How To Build It
Lay out a circle using standard concrete blocks, typically eight to ten blocks per course depending on block size and desired pit diameter, and stack two to three courses high, staggering the joints between layers for structural stability. A thin layer of high-temperature construction adhesive between courses adds extra security, though a well-fitted dry stack can also stand on its own. Line the interior with a steel fire ring or fire brick before use to protect the concrete from direct flame contact, since standard concrete block isn’t rated for prolonged direct heat exposure without a protective liner.
4. In-Ground Sunken Fire Pit
Quick Benefits
- Low-profile, grounded aesthetic
- Keeps sightlines open across the yard
- More labor-intensive but highly rewarding
- Naturally blends into landscaping
- Long-term, permanent backyard feature
Why It Works
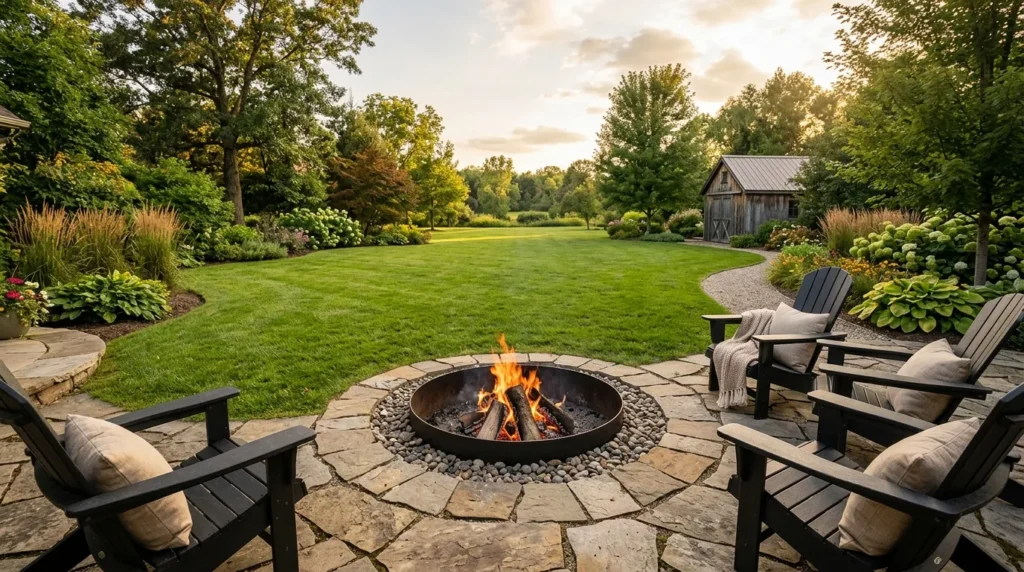
A sunken, in-ground fire pit sits recessed below grade rather than built up as a visible structure, which creates a naturally grounded, landscape-integrated look that a taller, above-ground build simply can’t replicate. That’s why many experienced DIYers recommend this build specifically for yards where an above-ground structure would feel visually heavy or block sightlines across the space — a sunken pit stays low and unobtrusive while still providing all the same functional fire pit benefits.
How To Build It
Excavate a circular hole roughly three feet in diameter and twelve to eighteen inches deep, and line the bottom and sides with a few inches of gravel for drainage. Install a steel fire ring liner sized to fit within the excavated hole, positioning it so the top edge sits flush with or slightly below the surrounding grade. Finish the surface around the opening with pavers, gravel, or flagstone flush to the ground level, creating a clean, seamless transition between the pit and the surrounding yard. This build requires more digging than most others on this list, so renting a small trencher or planning for a full weekend of manual digging is worth factoring into the timeline.
5. Paver Ring Fire Pit
Quick Benefits
- Polished, uniform finished look
- Widely available interlocking paver kits
- Faster than natural stone stacking
- Consistent sizing simplifies the build
- Works well in modern or formal landscapes
Why It Works
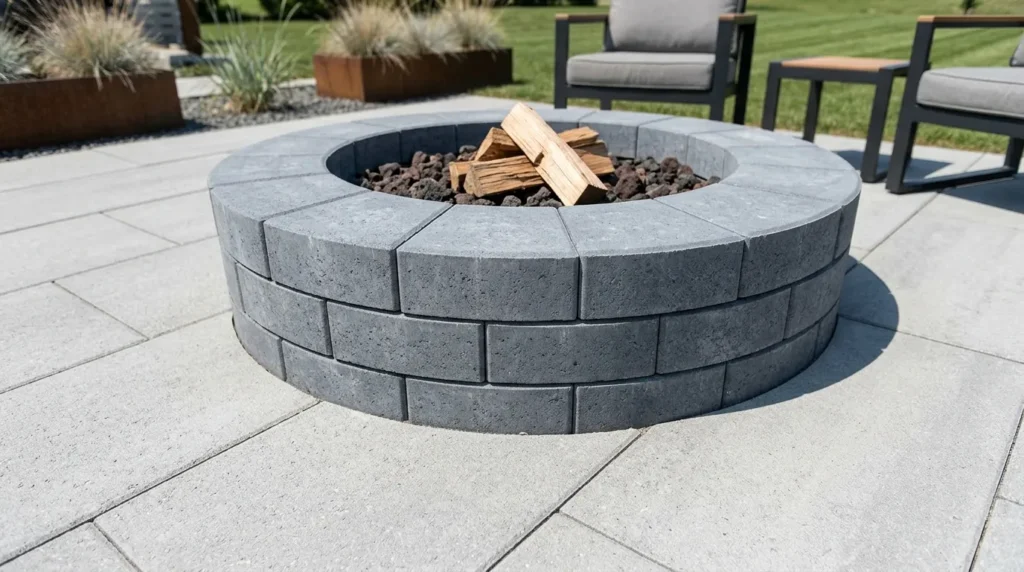
Curved interlocking pavers, sold specifically for circular fire pit construction, offer a considerably more polished and uniform finished look than natural stone, while still being straightforward enough for a DIY weekend project. In my experience, this is one of the best options for anyone who wants a clean, professional-looking result without the improvisation that natural stone stacking requires, since the pavers are manufactured with a slight curve specifically designed to form a perfect circle without any cutting or fitting adjustments.
How To Build It
Purchase a fire pit paver kit sized for your desired diameter, which typically includes enough curved pavers for two to three courses. Lay a compacted gravel base as with the other builds on this list, then begin stacking the curved pavers in a circle, staggering the joints between each course for stability. Most paver kits include or recommend a construction adhesive rated for outdoor, high-heat use to secure the courses together permanently. Insert a steel fire ring liner before first use, following the same protective principle as the concrete block and stacked stone builds above.
6. Cinder Block Bench Fire Pit
Quick Benefits
- Combines fire pit and seating in one build
- Highly budget-friendly for the functionality gained
- Sturdy, weather-resistant structure
- Customizable seating configuration
- Efficient use of materials and space
Why It Works
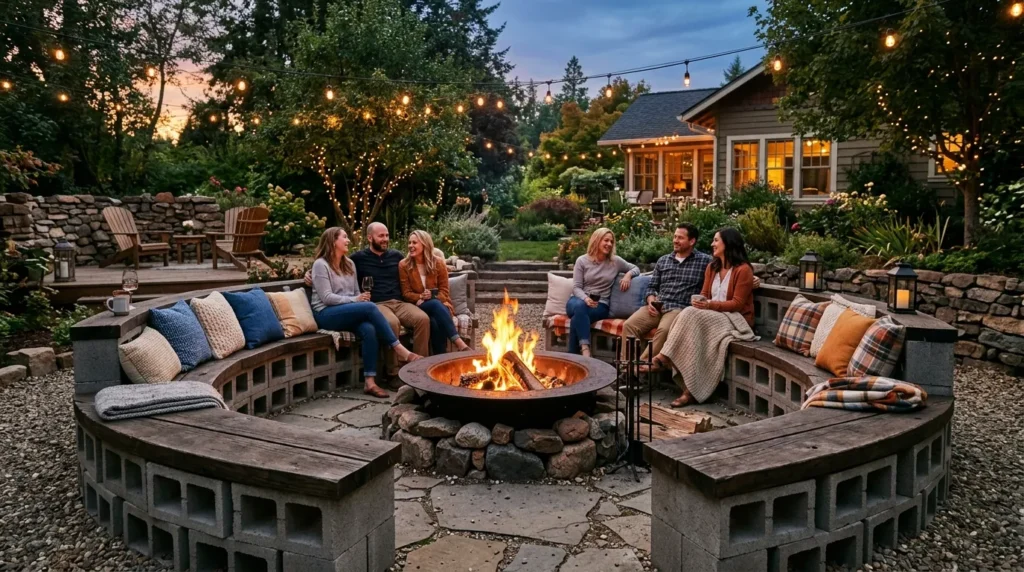
Building a ring of low cinder block seating around the fire pit itself accomplishes two projects at once — the fire feature and the seating — using the same basic material and skill set throughout. That’s why many experienced DIYers recommend this build specifically for anyone planning to entertain regularly, since built-in seating eliminates the need to haul chairs in and out of storage every time the fire pit gets used, while also giving the whole area a more finished, intentional look than a fire pit surrounded by mismatched folding chairs.
How To Build It
Build the central fire pit structure using the concrete block method described earlier, then construct a wider ring of low cinder block seating a few feet out from the fire pit itself, stacking blocks to a comfortable sitting height of roughly eighteen inches. Top the seating blocks with a paver cap or a simple wood cap for comfort, and add outdoor cushions for the finished look. This build uses considerably more material than a standalone fire pit, so budgeting for both the central pit and the surrounding seating ring is worth doing before starting.
7. Brick Circle Fire Pit
Quick Benefits
- Classic, timeless curb appeal
- Widely available, affordable material
- Suits traditional and cottage-style yards
- Forgiving for slight imperfections in stacking
- Ages beautifully with a natural patina
Why It Works
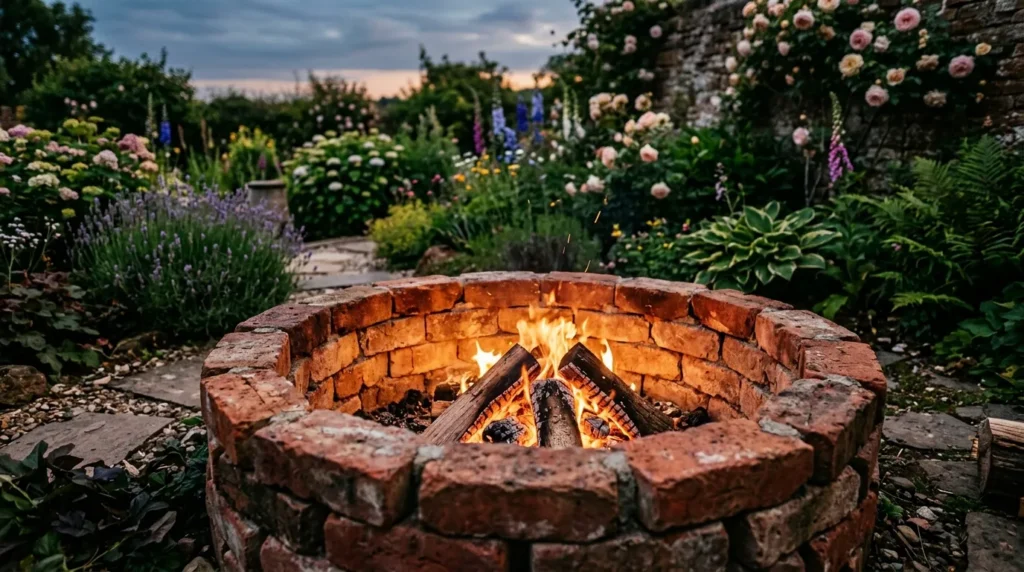
Standard brick has been used in outdoor fire features for generations, and it remains one of the most reliable DIY fire pit materials because of how forgiving it is to work with — small imperfections in a hand-laid brick circle actually read as charming rather than sloppy, unlike some more precise, manufactured materials. I’ve seen this build hold up particularly well over time, with the brick’s slight color variation and texture only adding character as the pit ages, rather than making it look worn out or dated.
How To Build It
Lay a circular gravel base as with the other builds, then arrange standard brick in a circular pattern, three to four courses high, staggering the joints between layers. A thin layer of high-temperature mortar between courses creates a more permanent, structurally sound build, though a tightly fitted dry stack can also work for a lower-commitment version. Insert a steel fire ring liner before use to protect the brick and mortar from direct, prolonged flame contact. This build pairs particularly well with an existing brick or paver patio, since the matching material ties the fire pit visually into the rest of the hardscape.
8. Metal Fire Bowl Insert Pit
Quick Benefits
- Simplifies the build around a purchased centerpiece
- Faster than a fully from-scratch stone build
- Wide range of finish options available
- Provides a built-in, code-compliant burn container
- Works well set into nearly any surrounding material
Why It Works
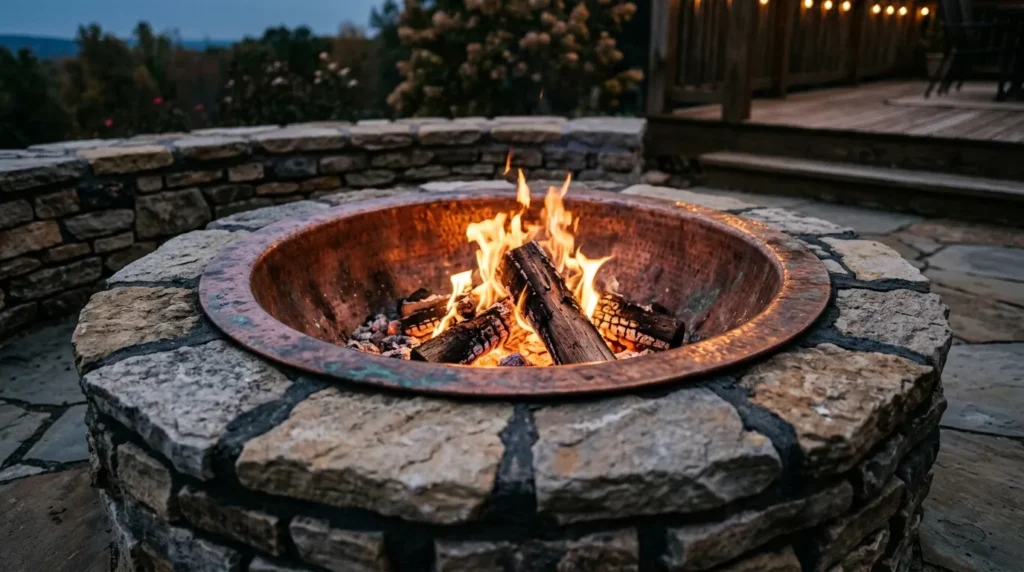
Building a surrounding structure around a purchased steel or copper fire bowl insert simplifies the overall project considerably, since the insert itself already handles the fire containment and heat safety requirements, leaving the DIY work focused purely on the surrounding aesthetic structure. That’s why many experienced DIYers recommend this approach for anyone who wants a highly customized final look without the added complexity of sourcing and installing a separate fire ring liner into a stone or block structure built entirely from scratch.
How To Build It
Purchase a steel or copper fire bowl insert sized to your desired pit diameter, and build a surrounding structure — stacked stone, concrete block, or brick, following any of the earlier methods in this list — sized specifically to house the insert at the correct depth. Position the insert so its rim sits flush with or slightly above the surrounding structure’s top edge, providing easy access for adding wood or adjusting a gas line if using a gas insert. This approach offers the most design flexibility of any build on this list, since the surrounding material can be chosen purely for aesthetics once the functional fire containment problem is already solved by the insert itself.
9. Gabion Cage Fire Pit
Quick Benefits
- Modern, architectural aesthetic
- No mortar or stacking skill required
- Extremely sturdy once filled
- Customizable with different stone fill colors
- Distinct from traditional stacked-stone looks
Why It Works
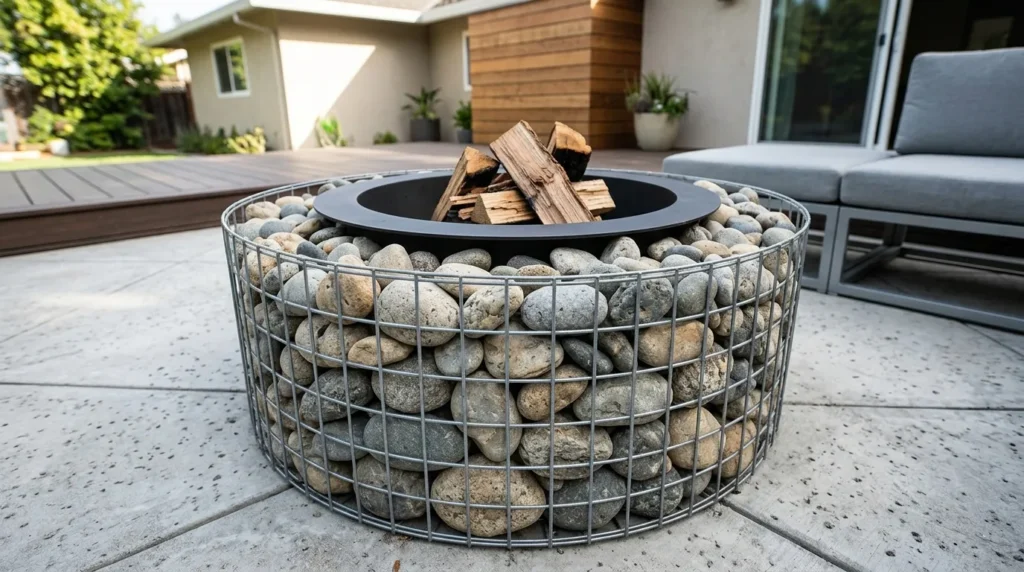
A gabion cage fire pit uses a welded wire mesh cylinder filled with loose stone, creating a modern, architectural look that’s genuinely different from the traditional stacked-stone or brick aesthetic most DIY fire pits share. In my experience, this build appeals particularly to homeowners with a more contemporary landscape style, since the clean cylindrical shape and visible stone fill read as intentional and designed rather than rustic, despite being one of the more straightforward builds on this entire list in terms of actual skill required.
How To Build It
Purchase or construct a cylindrical wire gabion cage sized to your desired pit diameter, and position it on a prepared gravel base. Fill the cage gradually with stone — river rock, crushed granite, or a decorative aggregate all work well — packing it in evenly as you go to avoid large gaps or uneven bulging in the wire mesh. Insert a steel fire ring liner in the center opening before use, sized to fit within the gabion’s inner diameter. This build requires more stone material than most other options on this list, so calculating the volume needed based on the cage’s dimensions before purchasing stone helps avoid running short mid-project.
10. Portable Steel Ring Fire Pit
Quick Benefits
- No digging or permanent installation required
- Fully movable and storable
- Ideal for renters or temporary yards
- Fastest build option on this list
- Minimal tools and materials needed
Why It Works
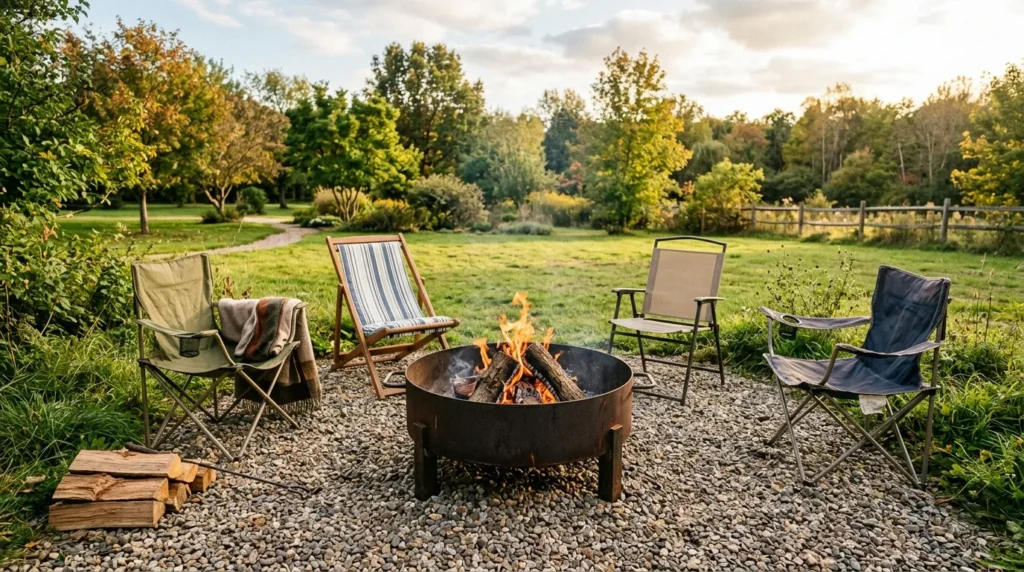
For renters or anyone who isn’t ready to commit to a permanent, in-ground or built structure, a portable steel fire ring placed directly on a prepared surface offers all the same functional fire pit benefits without any digging, stacking, or permanent alteration to the property. That’s why many experienced DIYers recommend this option specifically for temporary living situations, since the entire setup can be packed up and taken along when moving, unlike every other build on this list, which becomes a permanent fixture of the yard once completed.
How To Build It
Choose a level, flat area of the yard well clear of any structures, fences, or overhanging branches, and lay down a fire-safe surface — a paver mat, a layer of gravel, or a dedicated fire pit pad — to protect the grass or ground beneath from scorching. Place a freestanding steel fire ring or portable fire pit directly on the prepared surface, with no digging or permanent construction required. This is the fastest build on the entire list, typically completed in under an hour, and it can be fully disassembled and stored or relocated whenever needed.
Frequently Asked Questions
How far should a DIY fire pit be from my house? Most local codes recommend a minimum of ten to twenty-five feet of clearance from structures, fences, and overhanging trees, though exact requirements vary significantly by city and county. Checking local regulations before starting any build is an important first step, regardless of which design you choose.
Do I need a permit to build a DIY fire pit? Permanent, in-ground fire pits sometimes require a permit depending on local regulations, while portable and freestanding options generally don’t. It’s worth checking with your local building or fire department before starting a permanent build specifically.
What’s the cheapest DIY fire pit to build? A basic gravel and steel ring pit is typically the most budget-friendly option, since it requires minimal materials and no cutting, mortar, or specialized tools. A portable steel ring pit is similarly inexpensive and requires even less setup time.
Can I build a fire pit without mortar? Yes, many of the builds on this list — stacked stone, concrete block, and brick — can be dry-stacked without mortar, relying on the weight and staggered joints of the material for stability. Mortar creates a more permanent, structurally reinforced build, but it isn’t strictly necessary for a functional result.
What size fire ring liner do I need for a DIY fire pit? Most DIY fire pits use a 36-inch steel fire ring liner, though smaller 30-inch or larger 45-inch options are also available depending on the overall size of the structure being built around it. The liner should fit snugly within the interior diameter of whatever surrounding material is used.
How deep should a fire pit base be? A gravel base of at least four to six inches is generally recommended for proper drainage and stability, with an additional few inches if the ground tends to hold water or freeze significantly in winter. Tamping the gravel down firmly before building on top of it helps prevent settling over time.
Can I build a fire pit directly on grass or a wood deck? Building directly on grass isn’t recommended without a proper gravel or paver base, since direct heat exposure will scorch and kill the grass over time. A fire pit should never be placed directly on a wood deck; an elevated fire pit table with a heat-resistant base pad is the safer option for deck surfaces specifically.
Final Thoughts
A DIY fire pit is one of the most rewarding backyard projects available, both because of how much it gets used once finished and because of the genuine sense of accomplishment that comes from building it yourself. Whether you start with a simple weekend gravel-and-ring pit or work up to a more involved stacked stone or gabion build, the fundamentals stay consistent across every option: a proper base, a safe fire containment method, and a location that meets basic clearance guidelines.
Start with the build that matches your current skill level and available time, and consider it a foundation you can always upgrade later — a basic gravel pit today can always become a more elaborate stone or paver build down the line. Once it’s finished, a DIY fire pit has a way of becoming the backyard feature that gets used the most, precisely because you’re the one who built it.
Related Articles
- Backyard Fire Pit Ideas
- Backyard Privacy Ideas
- Patio Garden Ideas
- DIY Christmas Porch Planters
- Small Backyard Layout Ideas