

How to Declutter Your Home Without Creating More Mess
Decluttering has a reputation for making a home look worse before it looks better, and in my experience, that’s exactly the reason so many people quit halfway through. You pull everything out of a closet to sort it, get interrupted by dinner or a phone call, and suddenly there’s a pile in the middle of the living room for three days while the rest of the house absorbs the chaos of one unfinished project.
If you’re anything like me, you’ve probably started a decluttering project with real enthusiasm, only to abandon it once the mess spread further than you expected. A mistake many people make is treating decluttering as one giant, all-at-once event — tackling an entire room, or worse, an entire house, in a single session, which almost guarantees the process will spiral into more disorder before any real progress is visible.
That’s why many professional organizers recommend a contained, zone-by-zone approach instead, where the mess created during sorting never actually leaves the boundaries of the specific area you’re working on. I’ve noticed that the people who successfully declutter without their homes falling into disarray during the process all share a similar habit: they never let the “in progress” pile grow larger than what they can fully finish sorting and putting away in one sitting.
In this guide, I’m walking through ten strategies for decluttering that specifically prevent the spreading, snowballing mess that derails so many attempts. Each one focuses on containing the process itself, not just organizing the end result, so your home stays livable throughout the project instead of only looking better once it’s finally, fully done.
Table of Contents
- Work in Small, Contained Zones Limiting the scope of each session to prevent spillover mess.
- Use the Four-Box Method A simple sorting system that keeps decisions organized.
- Set a Timer for Each Session Preventing burnout-driven half-finished piles.
- Finish Each Zone Before Starting Another Avoiding the trap of multiple open projects at once.
- Stage a Dedicated Sorting Surface Keeping decluttering contained to one designated spot.
- Handle Each Item Only Once Reducing the “I’ll deal with it later” pile problem.
- Bag and Remove Donations Immediately Preventing donation piles from becoming permanent clutter.
- Declutter Before You Organize Avoiding the trap of buying storage for things you don’t need.
- Involve the Whole Household in Their Own Spaces Preventing one person’s effort from being undone by others.
- Schedule Short Maintenance Sessions Keeping decluttered spaces from sliding back into clutter.
1. Work in Small, Contained Zones
Quick Benefits
- Prevents mess from spreading beyond one area
- Creates a sense of quick, visible progress
- Reduces overwhelm compared to whole-room projects
- Makes the process easy to fit into a busy schedule
- Keeps the rest of the home fully livable throughout
Why It Works
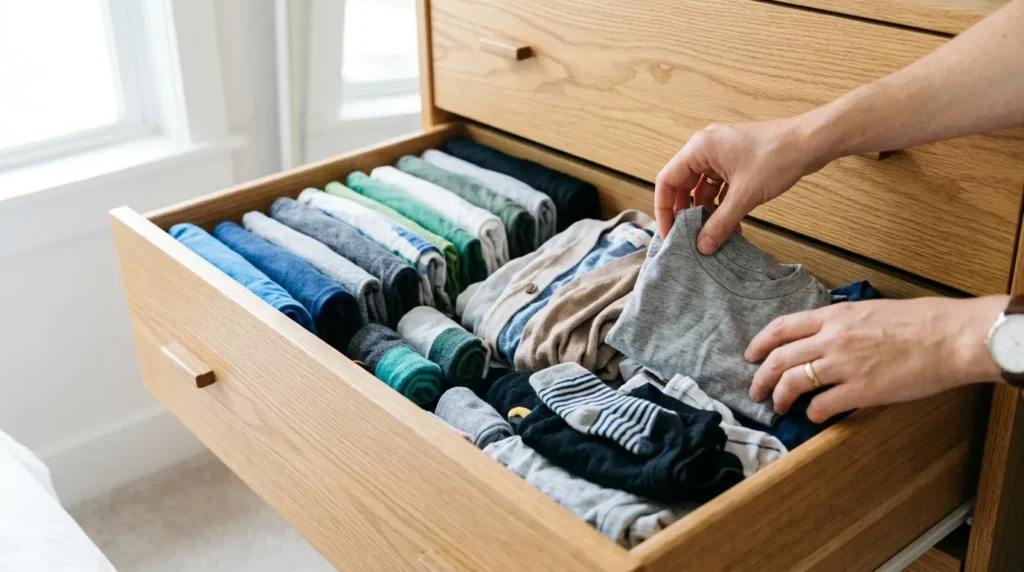
Decluttering an entire room, or worse, multiple rooms at once, almost guarantees the process will spiral, since the volume of items being sorted quickly outpaces the time and energy available to actually put decisions into action. In my experience, the single biggest factor separating a successful decluttering project from a failed one is scope — working in small, clearly defined zones like a single drawer, one shelf, or a small section of a closet keeps the mess physically contained and makes it much easier to see a session through to completion.
How To Do It
Choose a zone small enough to fully sort, decide on, and put away within thirty to sixty minutes — a single kitchen drawer, one bathroom cabinet, or a small section of a closet are all good starting points. Resist the urge to expand the zone mid-session just because momentum feels good, since that’s exactly the moment projects tend to snowball beyond what can be finished in one sitting. One simple trick I always suggest is physically defining the zone’s boundary before starting, even mentally noting “just this drawer, nothing else,” so there’s a clear stopping point built into the plan from the very beginning.
2. Use the Four-Box Method
Quick Benefits
- Simplifies decision-making during sorting
- Prevents items from being handled multiple times
- Creates clear categories instead of vague piles
- Speeds up the overall sorting process
- Reduces decision fatigue during longer sessions
Why It Works
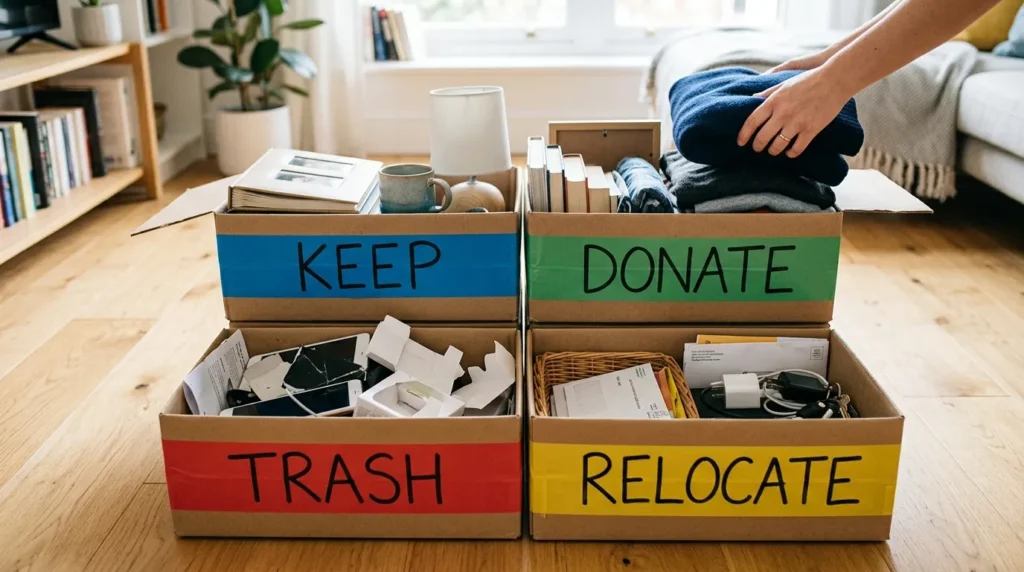
The four-box method — sorting every item into Keep, Donate, Trash, or Relocate categories as you go — removes the ambiguity that causes so many decluttering sessions to devolve into a single, undifferentiated pile of “stuff to deal with later.” That’s why many professional organizers recommend this system specifically, since it forces a decision on every single item in the moment rather than deferring that decision to some vague future sorting session that often never actually happens.
How To Do It
Set up four physical containers, bags, or clearly marked areas before starting: one for items to keep in their current location, one for donations, one for trash, and one for items that belong somewhere else in the home. As you sort through the zone, place every single item into one of the four categories immediately, without setting anything aside as “I’ll decide later.” This system pairs particularly well with the small, contained zone approach above, since sorting a manageable amount of items into four clear categories rarely takes more than a few minutes once you commit to a decision on each piece.
3. Set a Timer for Each Session
Quick Benefits
- Prevents burnout mid-project
- Creates a natural, built-in stopping point
- Keeps sessions from spiraling into all-day projects
- Makes decluttering feel more approachable
- Reduces the risk of an unfinished, messy pause point
Why It Works
A time limit forces a decluttering session to stay proportional to the amount of energy and focus actually available in that moment, which prevents the common trap of starting strong, running out of steam, and abandoning a half-finished pile in the middle of the room. I’ve seen this simple constraint make a significant difference for people who previously struggled with decluttering specifically because they’d start ambitious, hours-long sessions that inevitably fell apart before completion, leaving more mess behind than existed before they started.
How To Do It
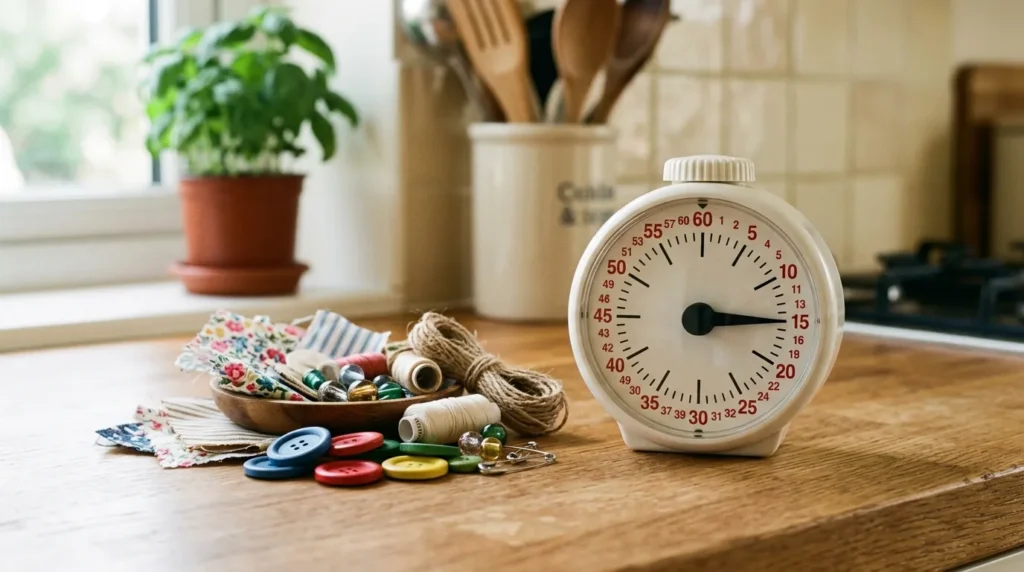
Set a timer for twenty to forty-five minutes before beginning a decluttering session, and treat that timer as a hard boundary — when it goes off, the goal is to already be at or near a natural stopping point, which is much easier to achieve if the zone chosen at the start was appropriately small to begin with. If the timer goes off mid-task, prioritize putting away whatever’s already been sorted into its designated spot before stopping completely, even if the zone isn’t entirely finished, so the space never sits in a half-sorted, messier state than when you started.
4. Finish Each Zone Before Starting Another

Quick Benefits
- Prevents multiple half-finished projects at once
- Ensures visible, complete progress after each session
- Reduces the total mess present at any given time
- Builds momentum through completed, not partial, wins
- Keeps the home functional throughout the process
Why It Works
A mistake many people make once they get going is jumping to a new zone before fully finishing the one they started, usually because something in the new area catches their attention mid-project. That’s why many professional organizers emphasize completion over coverage — fully finishing one small zone, even if it means the rest of the house hasn’t been touched yet, is far more valuable than having five different areas all partially sorted and none of them actually done, since partially finished zones are often messier than the original untouched state.
How To Do It
Commit to completing the entire cycle — sorting, deciding, and putting items away — in one zone before moving to a new one, even if a genuinely interesting or motivating mess catches your eye elsewhere in the house. Keep a running list of zones you’d like to tackle next, so the temptation to jump around has somewhere productive to go, without derailing the zone actually in progress. This approach pairs directly with the timer method above, since a well-sized zone chosen with the time constraint in mind should generally be finishable within a single session.
5. Stage a Dedicated Sorting Surface
Quick Benefits
- Keeps sorting contained to one visible spot
- Prevents clutter from spreading across multiple rooms
- Makes it easy to see what’s still left to sort
- Creates a clear boundary for in-progress items
- Simplifies cleanup if a session gets interrupted
Why It Works
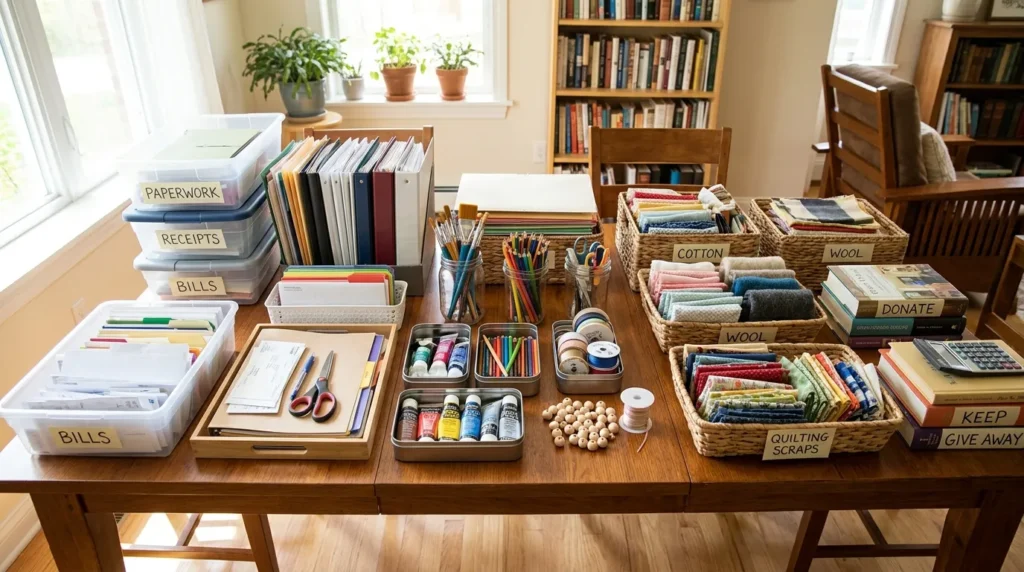
Designating a single table, countertop, or floor area as the official “sorting surface” for a decluttering session keeps the in-progress mess visually and physically contained, rather than allowing items to spread out across the bed, the hallway, and multiple other surfaces throughout the house. I’ve noticed this single habit prevents one of the most common decluttering pitfalls — starting to sort in one spot, then setting overflow items down in another room “just for now,” which is exactly how a contained project turns into a whole-house mess.
How To Do It
Choose one clear surface — a dining table, a large countertop, or a defined section of floor — as the dedicated sorting spot before starting any decluttering session, and commit to keeping every item being sorted within that boundary until it’s been assigned to one of the four categories and physically relocated. If a session gets interrupted, having everything contained to a single surface makes it much easier to either quickly finish up or clearly pause and resume later, rather than untangling clutter that’s scattered across several different rooms.
6. Handle Each Item Only Once
Quick Benefits
- Prevents the “maybe later” pile from forming
- Speeds up overall decision-making
- Reduces the total number of decluttering sessions needed
- Avoids re-sorting the same items repeatedly
- Builds decisive habits that carry into future sessions
Why It Works
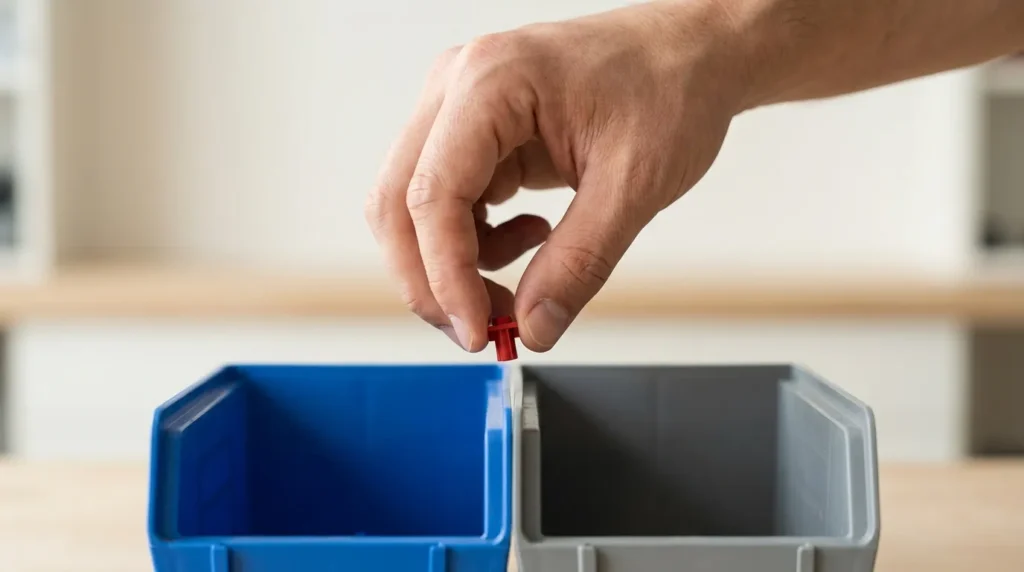
Picking an item up, deciding it’s too hard to make a call on right now, and setting it back down “for later” is one of the most common ways a decluttering session generates more mess than it resolves, since that item often ends up shuffled between piles multiple times without ever actually being dealt with. That’s why many professional organizers recommend a strict one-touch rule — handle each item exactly once, make a decision in that moment, and follow through on it immediately, rather than deferring the harder calls to some future session that adds them right back to the pile.
How To Do It
As you work through a zone, commit to making an immediate decision the first time you pick up each item, sorting it directly into one of the four categories from the earlier method rather than setting it aside undecided. For genuinely difficult decisions — sentimental items in particular — give yourself a firm few seconds to decide rather than an open-ended pause, since prolonged indecision is often what causes an item to get set down “for now” and never revisited. If truly stuck, default to the “relocate” category and deal with the harder sentimental sorting decisions as a separate, dedicated session rather than letting them stall an otherwise productive one.
7. Bag and Remove Donations Immediately

Quick Benefits
- Prevents donation piles from becoming permanent clutter
- Frees up physical space right away
- Removes the temptation to second-guess decisions
- Keeps the sorted areas genuinely finished
- Avoids a common late-stage decluttering trap
Why It Works
A donation pile that sits in the garage, a hallway, or the trunk of a car for weeks or months isn’t actually decluttering — it’s just relocating the clutter to a new, often more visible spot, and it also creates an ongoing opportunity to second-guess and pull items back out of the pile. I’ve seen this specific issue undo otherwise successful decluttering sessions more than almost any other single factor, since a stalled donation pile eventually starts collecting additional miscellaneous items on top of it, turning into its own new mess entirely.
How To Do It
As soon as a donation bag or box is filled during a sorting session, load it directly into the car, and schedule the actual drop-off within a day or two rather than letting it sit indefinitely. If an immediate drop-off isn’t possible, at minimum move the bagged donations to a location fully out of the main living spaces, like a garage or a car trunk, so they’re not visually or physically taking up space in the areas you just worked to declutter. This step directly protects the progress made in the earlier steps, since a completed sort that never actually leaves the house isn’t fully finished yet.
8. Declutter Before You Organize
Quick Benefits
- Prevents buying storage for things you don’t need
- Reduces overall clutter rather than just hiding it
- Saves money on unnecessary organizing products
- Creates a more accurate picture of what’s actually being kept
- Avoids the trap of “organized clutter”
Why It Works
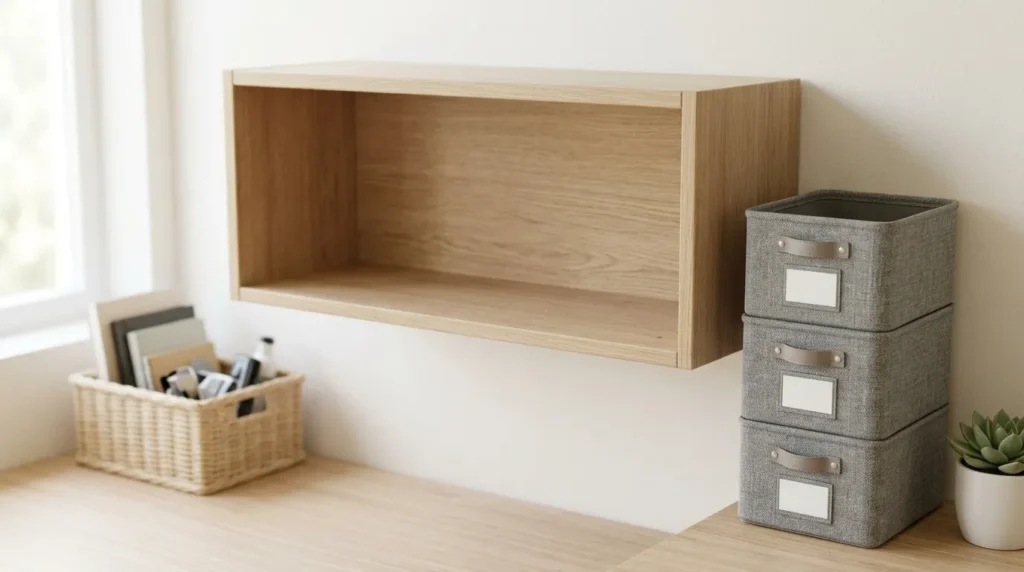
A mistake many people make is reaching for storage bins, baskets, and organizing products before actually deciding what’s worth keeping in the first place, which often results in beautifully organized clutter rather than a genuinely decluttered space. That’s why many professional organizers insist on this specific order of operations — sort and reduce first, and only shop for organizing tools and containers once you know exactly what’s being kept and how much space it actually requires, rather than guessing in advance and often overbuying storage for items that shouldn’t have been kept at all.
How To Do It
Complete the full sorting and decision-making process for a zone using the four-box method before purchasing any new bins, baskets, or organizing systems for that space. Once everything remaining has been decided on and the volume of “keep” items is clear, measure the space and shop for storage solutions specifically sized to that final amount, rather than the amount you started with before decluttering. This sequencing prevents the common outcome of ending up with a closet full of matching bins that are still, ultimately, packed with things that should have been donated or discarded in the first place.
9. Involve the Whole Household in Their Own Spaces
Quick Benefits
- Prevents one person’s effort from being undone by others
- Distributes the workload more evenly
- Builds household-wide decluttering habits
- Reduces resentment around repeated single-person effort
- Creates buy-in for maintaining the results long-term
Why It Works
Decluttering the shared spaces of a home while other household members continue accumulating clutter in their own areas, or contributing new items to shared spaces without any corresponding effort to sort or remove anything, quickly undoes whatever progress has been made. I’ve noticed this is a particularly common frustration in households where one person takes on the bulk of the decluttering effort alone, only to find shared spaces cluttered again within weeks because the rest of the household wasn’t genuinely involved in the process or its upkeep.
How To Do It
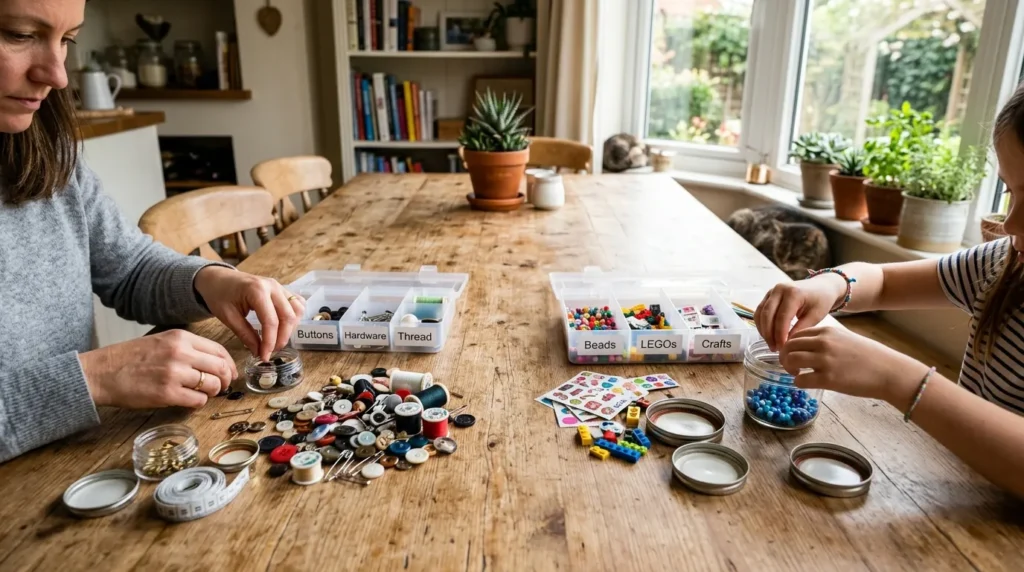
Assign each household member responsibility for decluttering their own personal spaces — a bedroom, a desk, a closet — using the same small-zone, timed approach outlined earlier, rather than one person attempting to sort through everyone else’s belongings on their behalf. For genuinely shared spaces like a kitchen or living room, involve the whole household in a brief joint session or at minimum a clear conversation about what’s being kept and why, so everyone has some stake in maintaining the results rather than treating the decluttered space as something that happened to them rather than with them.
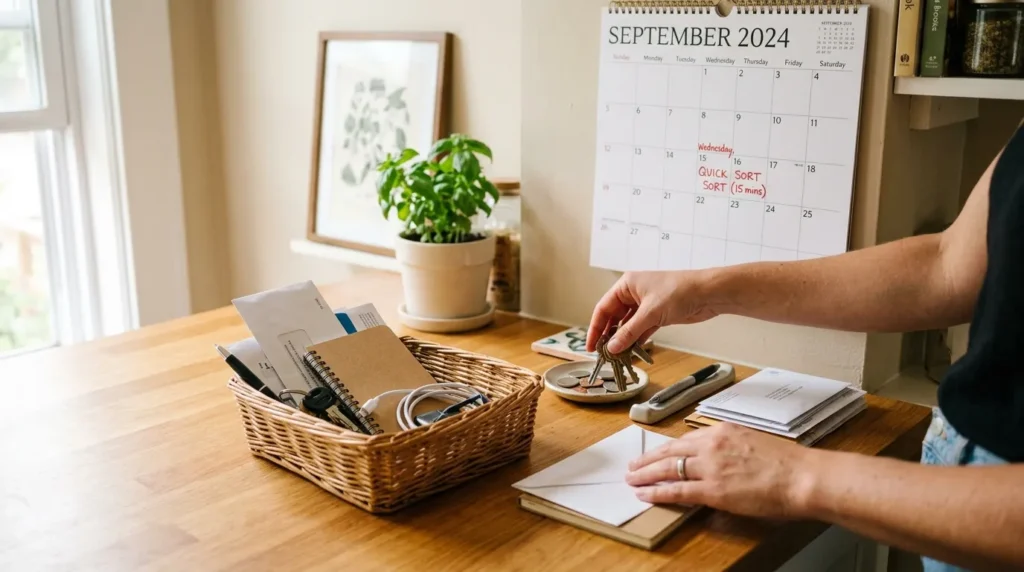
10. Schedule Short Maintenance Sessions
Quick Benefits
- Prevents decluttered spaces from sliding back into clutter
- Keeps future sessions small and manageable
- Builds a sustainable, ongoing habit
- Reduces the need for another large decluttering project later
- Maintains the sense of progress already achieved
Why It Works
Even a thoroughly decluttered space will naturally accumulate new items over time, and without some ongoing maintenance, most homes eventually drift back toward the same level of clutter that prompted the original decluttering project in the first place. That’s why many professional organizers recommend treating decluttering as an ongoing practice rather than a one-time event — a short, regular maintenance session catches new clutter while it’s still small and manageable, preventing the need for another large, overwhelming decluttering project somewhere down the line.
How To Do It
Schedule a short, recurring maintenance session — fifteen minutes weekly or thirty minutes monthly, depending on the household’s pace of accumulation — specifically to catch and address new clutter before it builds up significantly. Use the same small-zone, four-box approach for these maintenance sessions as well, treating them with the same contained, manageable structure as the original decluttering project rather than letting them balloon into a bigger undertaking. Over time, these regular check-ins tend to become quick and almost automatic, since they’re addressing a much smaller volume of items than an initial, from-scratch decluttering session ever had to handle.
Frequently Asked Questions
How do I start decluttering without feeling overwhelmed? Starting with a single small zone, like one drawer or shelf, rather than an entire room, is the most effective way to avoid feeling overwhelmed. Small, contained wins build momentum far more reliably than an ambitious whole-house approach that often stalls out partway through.
What’s the fastest way to declutter a home? Working through small zones using a timer and the four-box sorting method tends to be the most efficient overall approach, since it prevents the stalled, half-finished sessions that ultimately slow down the entire process. Consistency across several short sessions is generally faster in total than a few long, exhausting ones.
How do I keep my house from getting messy while decluttering? Containing each session to a small zone and a single dedicated sorting surface prevents the in-progress mess from spreading throughout the home. Finishing each zone completely, including removing donations promptly, before starting a new one also keeps the rest of the house unaffected by the project.
What should I do with sentimental items when decluttering? Setting a firm but brief decision window for sentimental items, rather than an open-ended pause, helps prevent them from stalling an entire session. Some people find it helpful to handle sentimental categories as a separate, dedicated session specifically, rather than mixing them into a broader decluttering zone.
How often should I declutter my home? A short, regular maintenance session — weekly or monthly depending on household pace — helps prevent significant clutter from building back up after an initial larger decluttering project. This ongoing approach is generally more sustainable than only decluttering in occasional, large, overwhelming pushes.
Should I buy storage bins before or after decluttering? Storage solutions should be purchased after decluttering, once the final amount of items being kept is clear, rather than before. Buying bins in advance often leads to organizing items that should have been discarded or donated in the first place.
How do I get my family involved in decluttering? Assigning each household member responsibility for their own personal spaces, using the same small-zone approach, tends to work better than one person attempting to declutter on behalf of the entire household. For shared spaces, a brief joint conversation about what’s being kept helps build shared investment in maintaining the results.
Final Thoughts
Decluttering doesn’t have to mean a chaotic weekend of piles taking over every surface in the house — the mess-generating spiral that derails so many attempts almost always comes down to scope, not the process itself. Working in small, contained zones, finishing each one fully before moving on, and removing donations immediately all work together to keep a decluttering project from ever generating more disorder than it resolves.
Start with one small zone today, set a timer, and commit to finishing it completely before considering anything else. A series of small, fully completed sessions adds up to real, lasting change far more reliably than one ambitious, overwhelming push — and your home stays livable the entire time you’re working toward it.
Related Articles
- Weekly House Cleaning Checklist
- DIY Home Organization Ideas on a Budget
- How to Organize a Small Bathroom
- Bathroom Cleaning Hacks That Actually Save Time
- Small Living Room Layout Ideas